Assignment
Design and create your own character in 3D. present it in a professionally render, with research, design process like character template, consept, silhouettes, turnaround, tone and color maps.
The character had to be bipedal humanoid, with fingers, opposable thumbs, face with a nose and edge loops around eyes and mouth. Functional design and final delivered character must be optimized for rigging/animation.
The character must be UV unwrapped and textured, not pre-made shaders.
schedule:
-Mon 09:00-16:00: brainstorming, idea dev, template, siluets,moodboard
-Tue 09:00-16:00: value/tone patterns, color schemes, texture moodboard
-Wed 09:00-16:00: time for more dev, turnaround
-Thu 09:00-17:00: modeling
-Fri 10:00-17:00: modeling
-Mon 09:00-17:00: modeling, texturing
-Tue 09:00-18:00: texture
-Wed 09:00-16:00: texture, lighting
-Thu 09:00-16:00: lighting, rendering, report
-Fri 09:00-16:00: rendering report
Idea development and research
I had many ideas to what I could make, knight, Templars, fox barbarian, giant monster, mermaid, goddess, centaur and others. I was really liking the idea of a mermaid character, but since the assignment said that it had to be a bipedal humanoid I had to scratch that idea. I decided to go for a kind of monster creature with giant arms and small back legs walking on its knuckles. Or a deer/doe centaur.

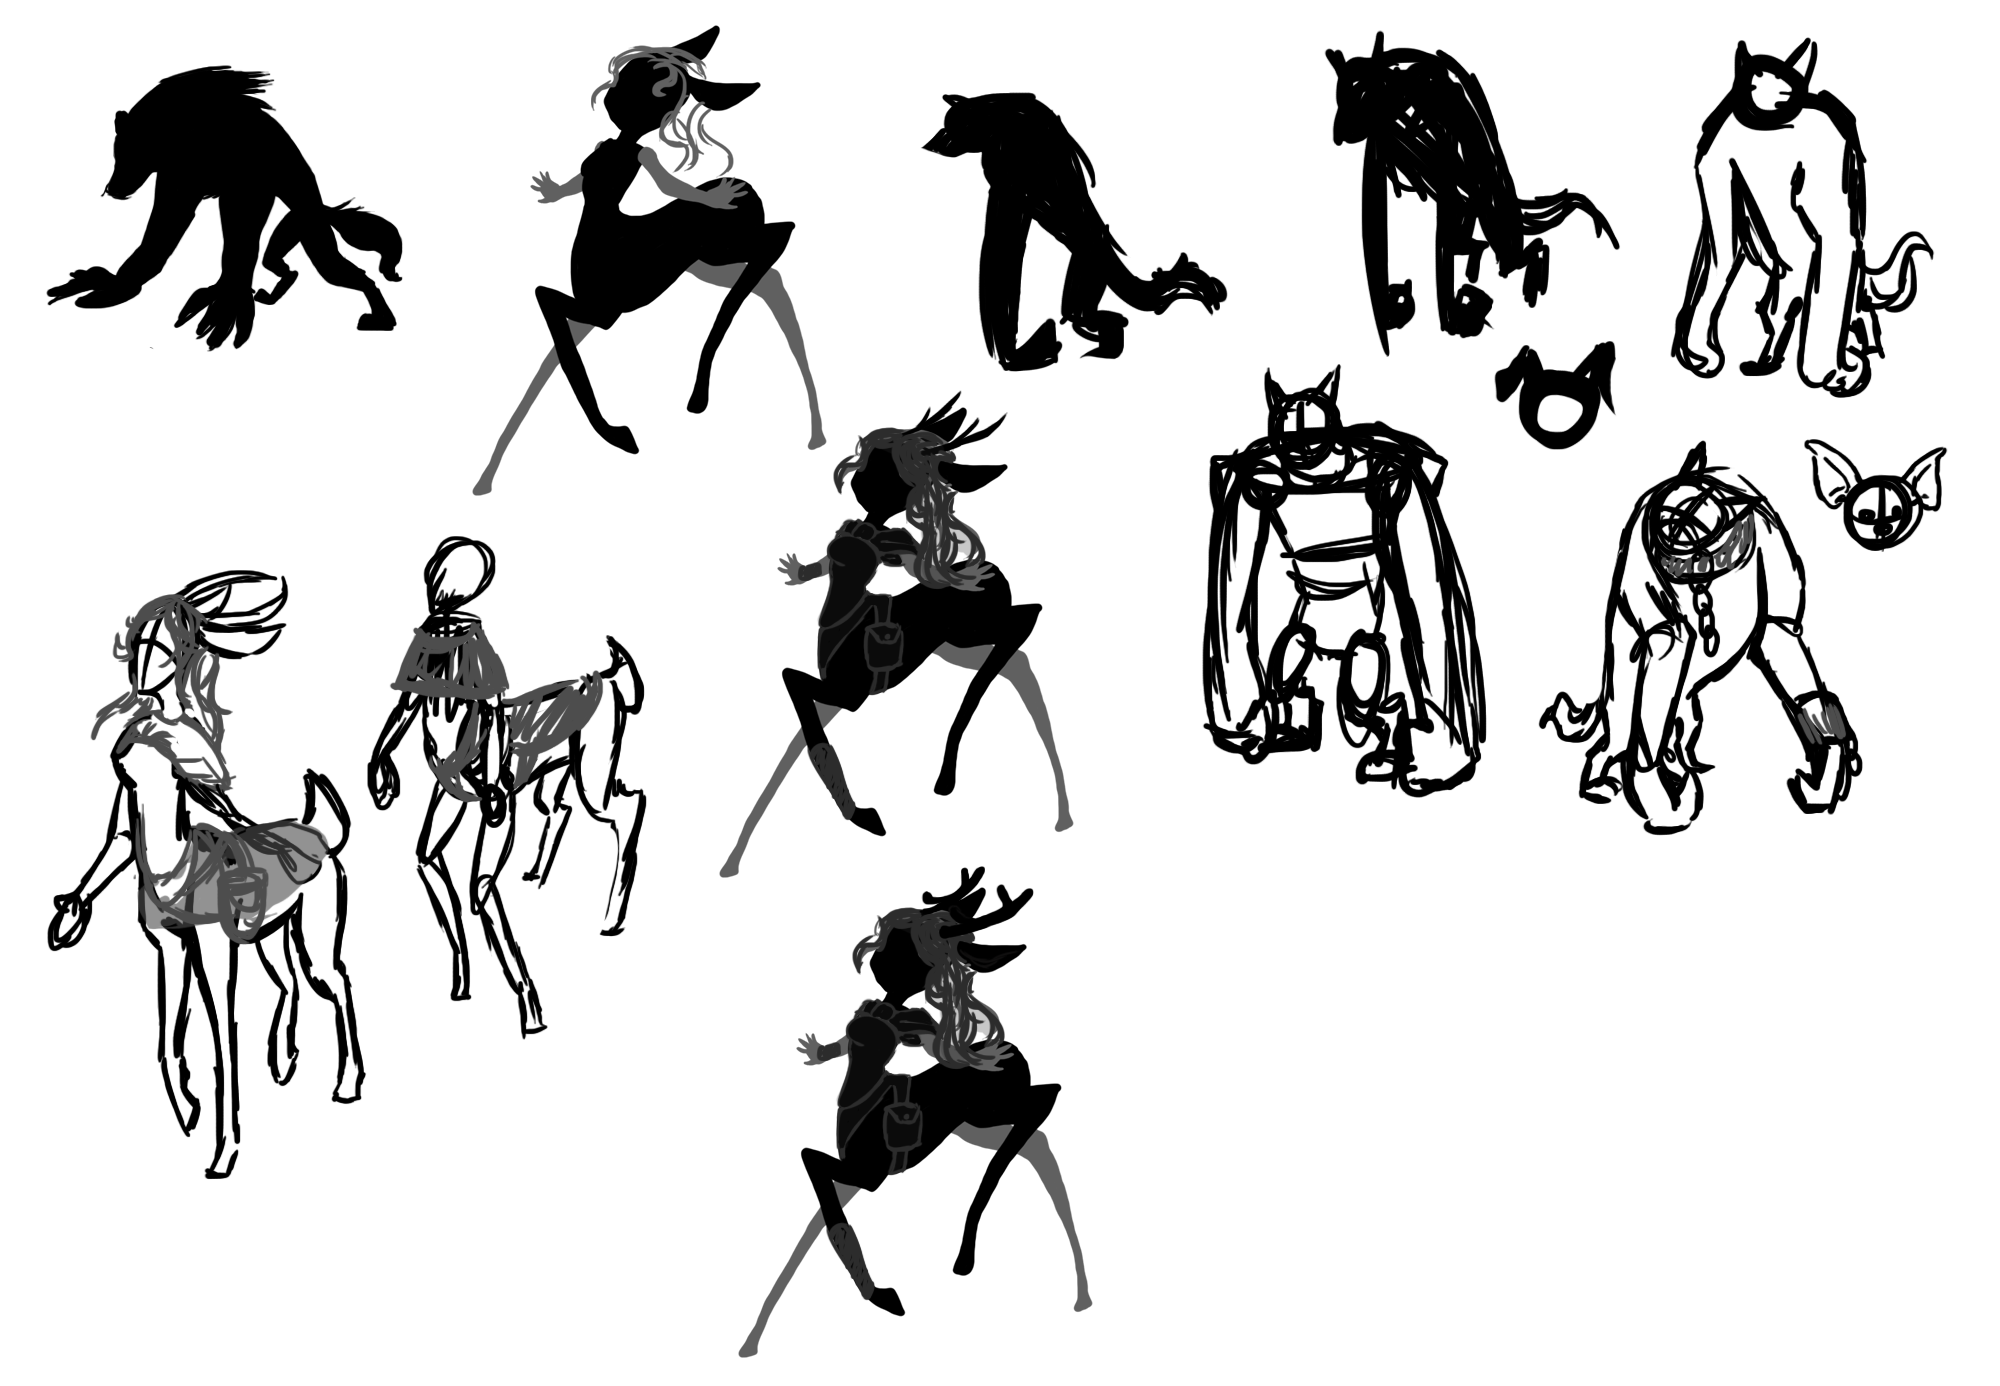
But I decided to go for the centaur after some talking with my teacher. I looked around on google for ideas for my centaur, if I was going to make it a deer or a horse.

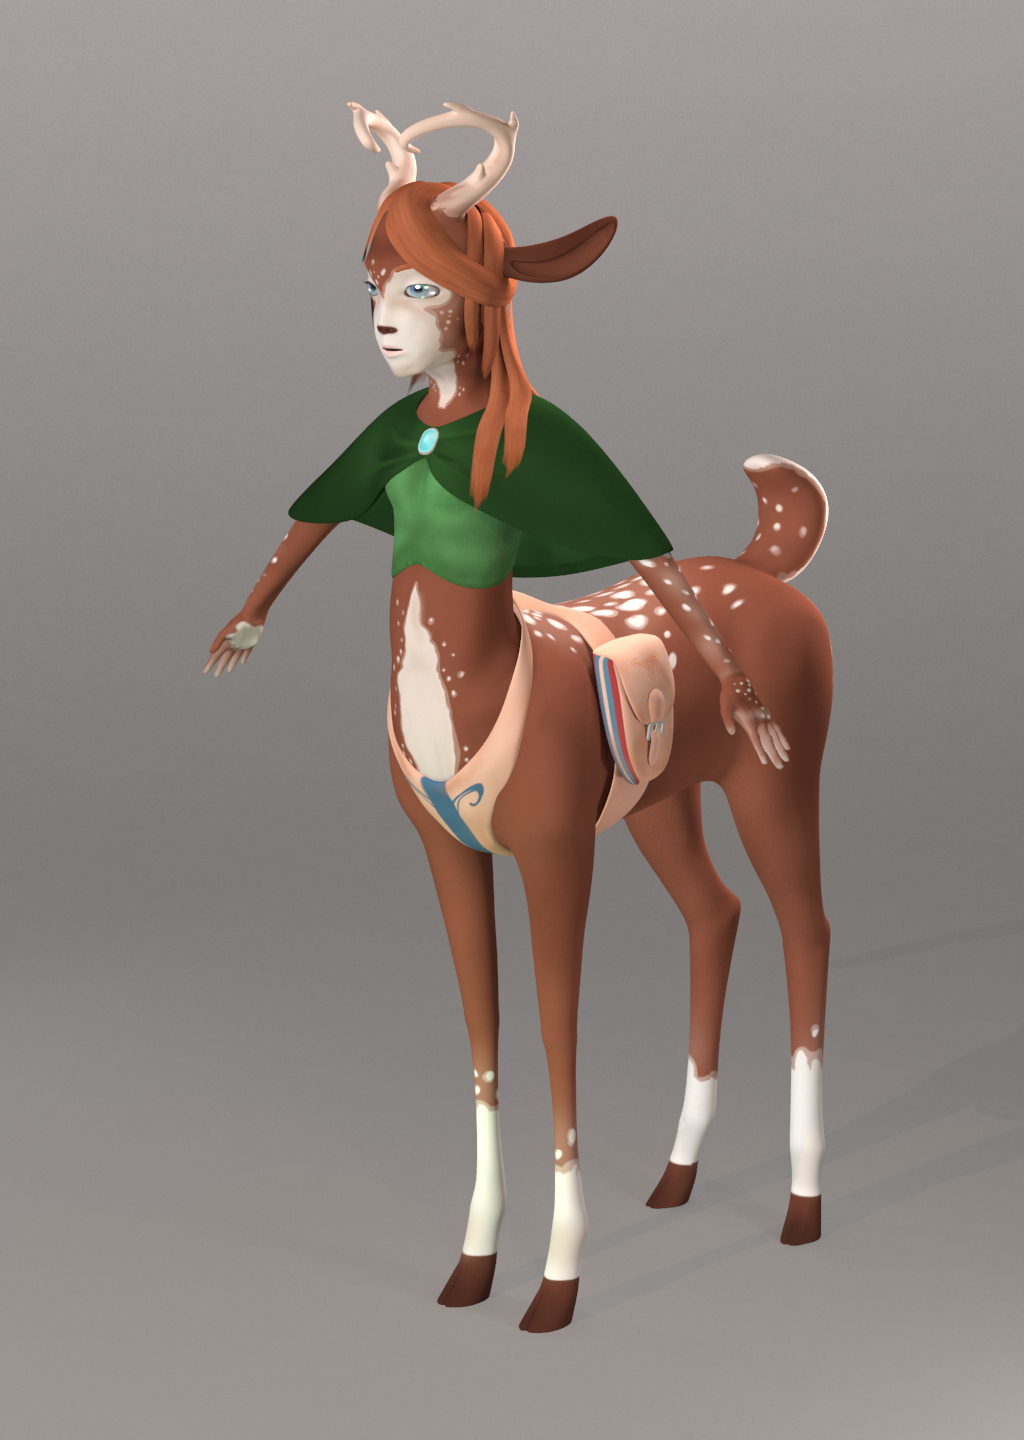
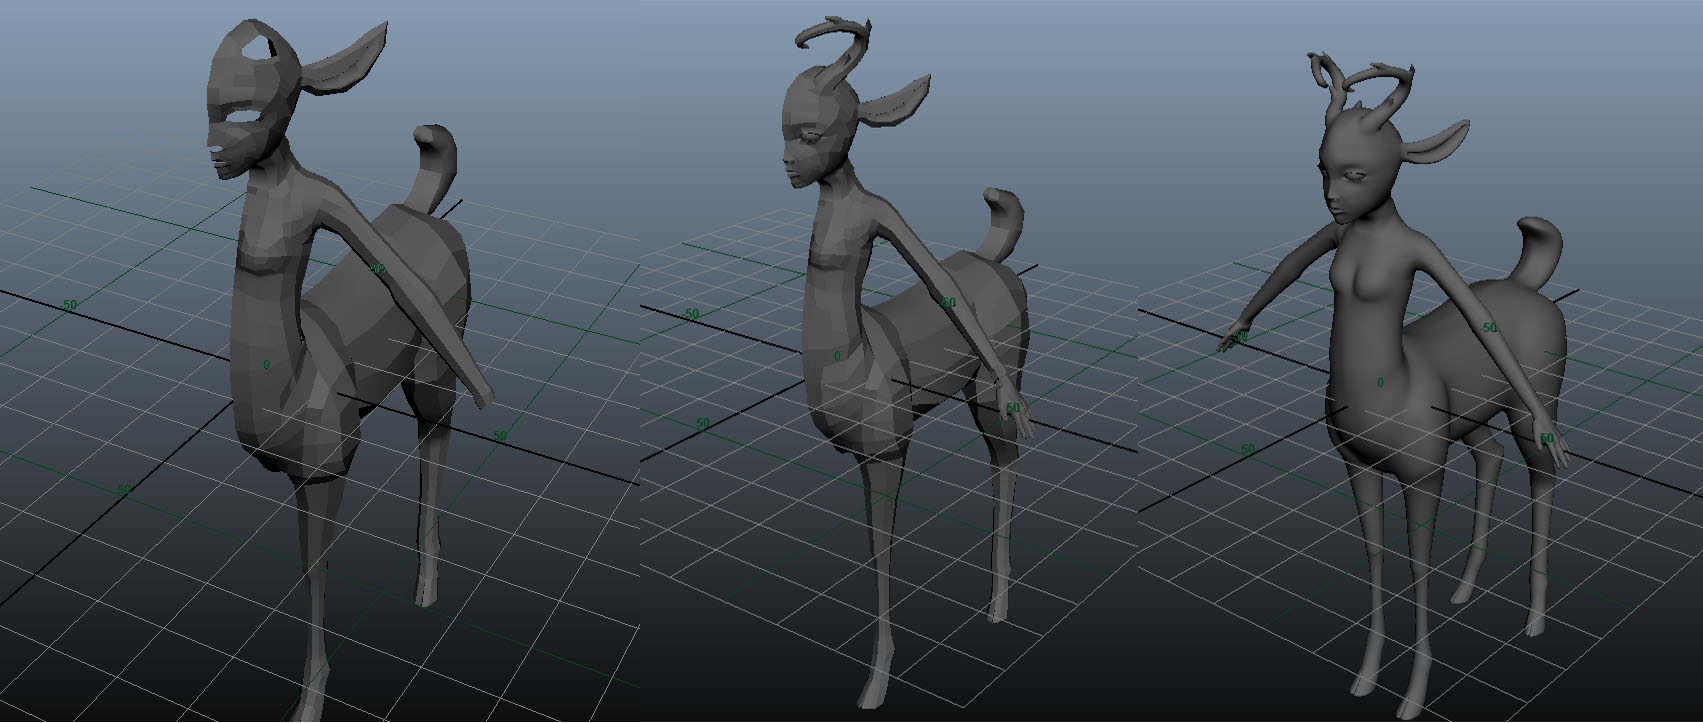
In the end, I went for my deer design. I used my original silhouette and used different tones of grey to make the clothing. I came up whit the story as I drew different clothing, like a kind of deer princess, a deer magician (gypsy), armoured or a deer farmer. I went for the simplistic farmer idea, shes a farmer living on the outskirts of a enchanted forest, living of the land and helping people/creatures passing by. (the middle design with another set of horns and hair)


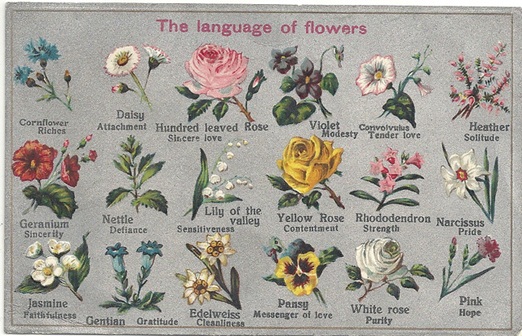
Since I thought of her as a farmer I wanted a flower name. so I searched for flower meaning on google and found some flower names I liked. I went for Lilac Aryllis Edelweiss, which is youthful innocence, splendid beauty and cleanliness. Cause she’s young, innocent with a good heart, no corruption and beauty.


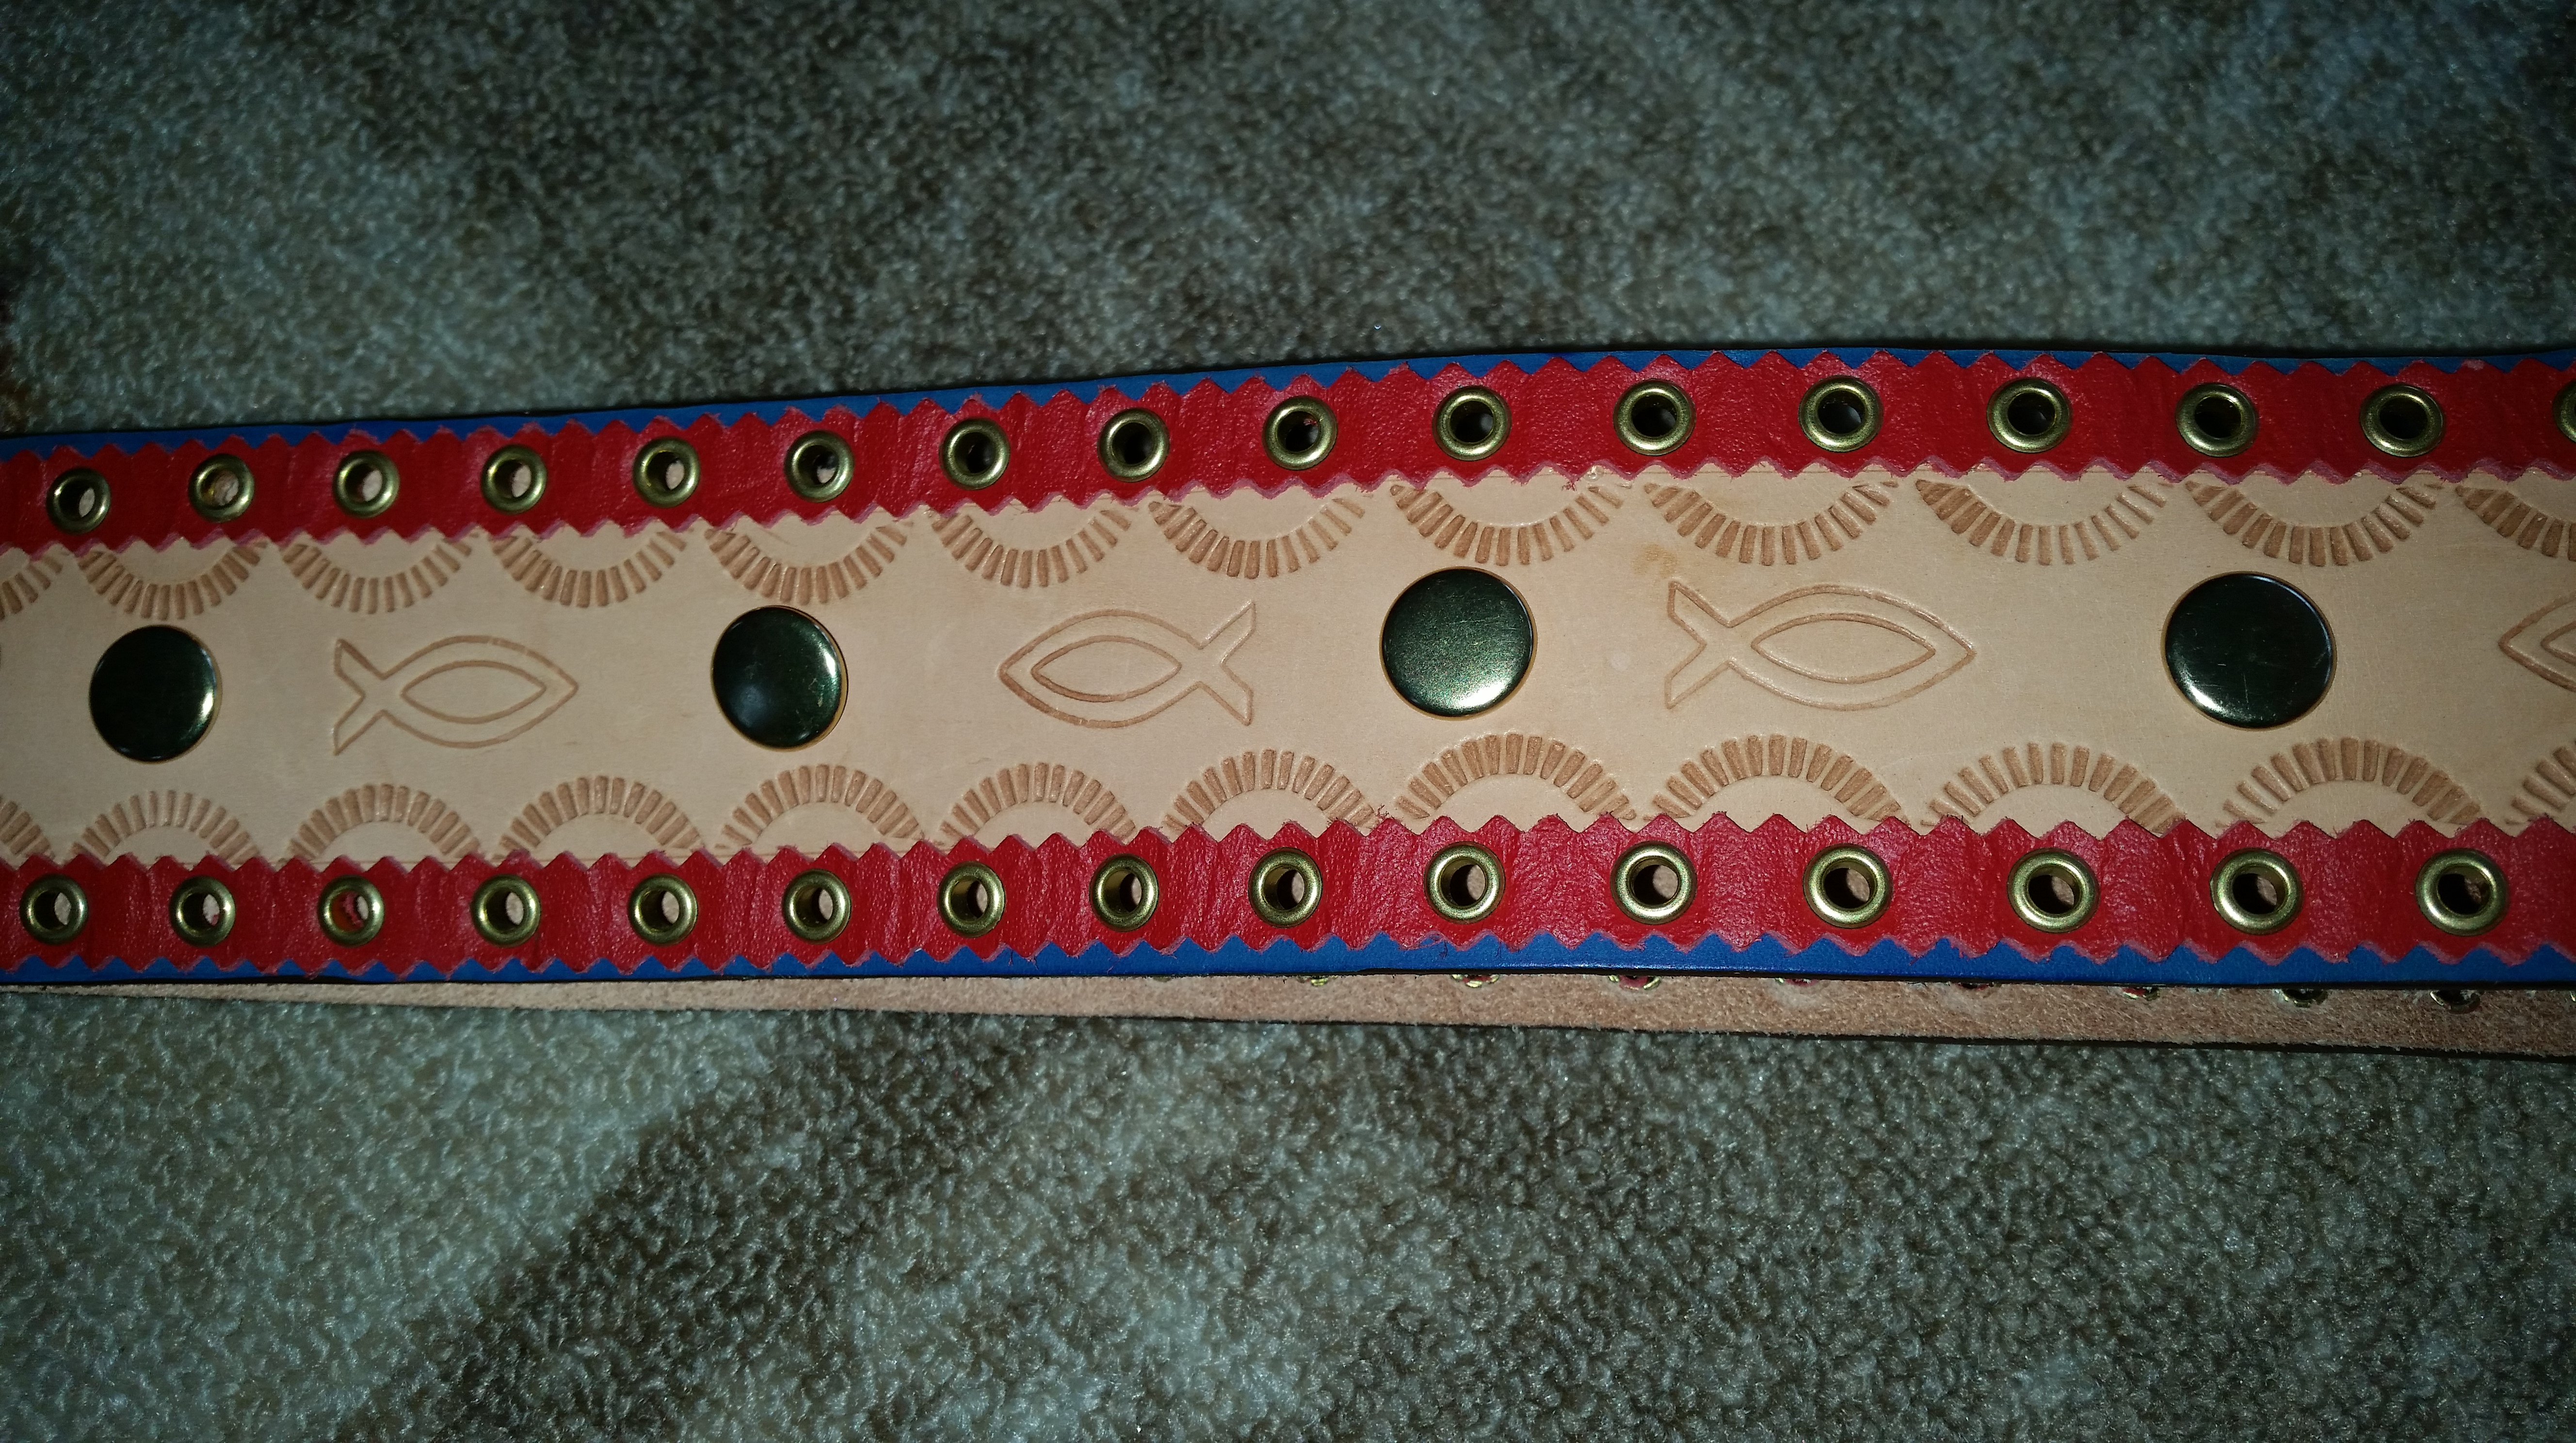
After I got the name, story, and general design done, I started making some colour samples. I took different kind of deer and used mostly their colures, all from little deer fawns to reindeers. The clothing I wanted to be a natural colours. The belt I used my Sápmi belt as reference, the colours and pattern. (picture of my Sápmi belt)


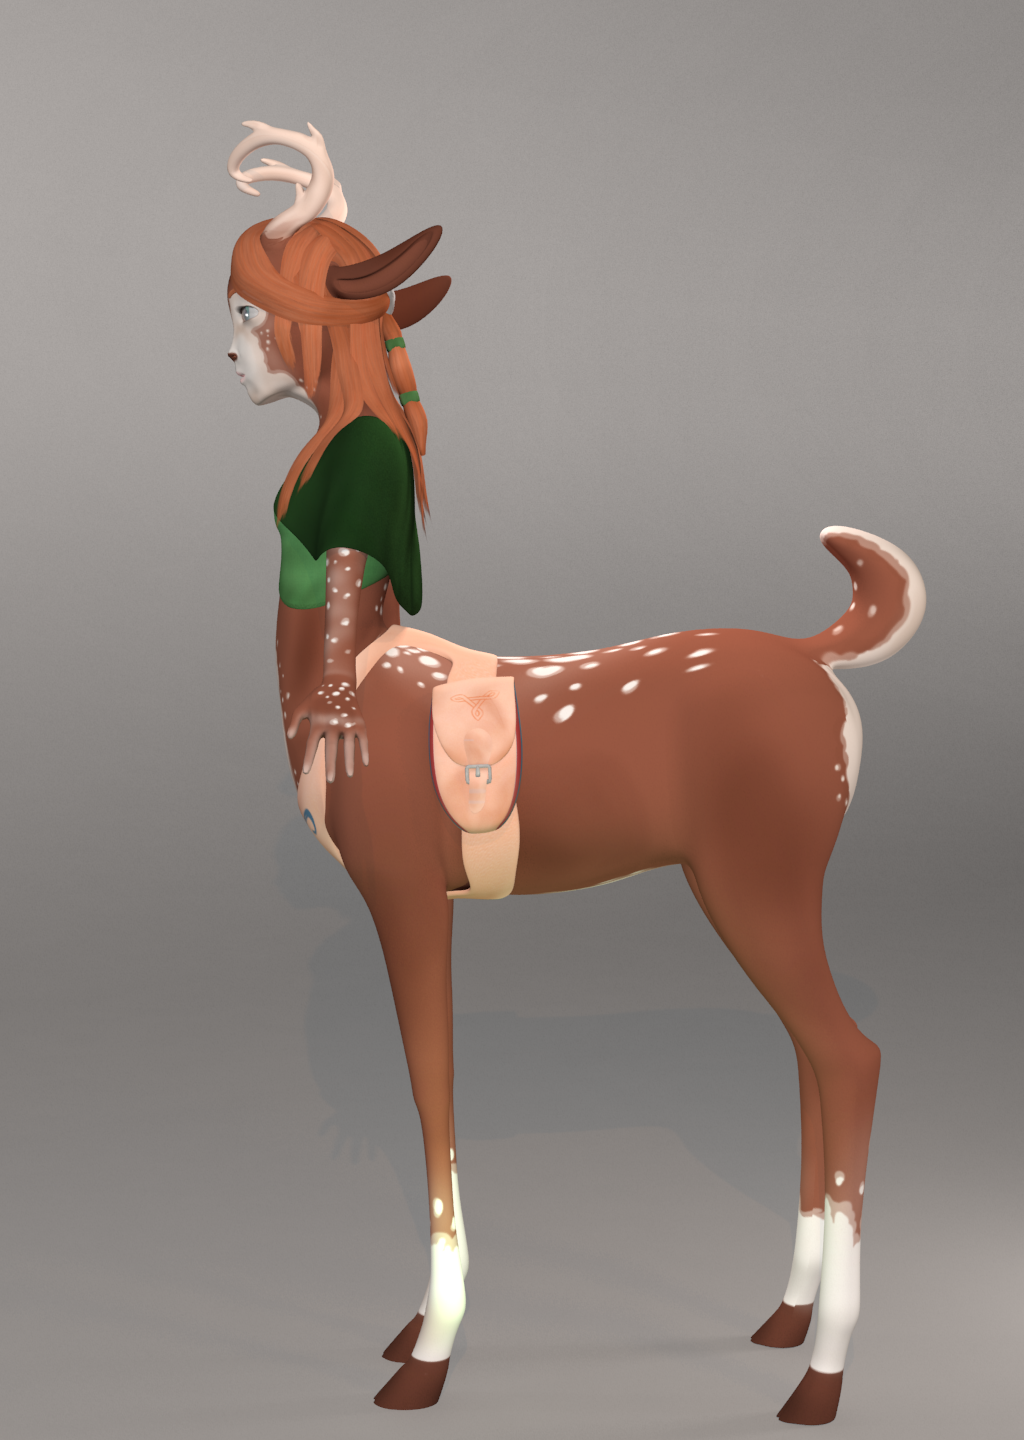
When I got all of the design done I drew a turnaround. Using pictures of deers to get the front, side and back view right. since I want a more cartoony style I used the movie Bambi as a reference for the deer body.
Execution
After I got the turnaround I imported it into maya as an image plain, I did so three times for the front, side and back side. I stared with the deer body. I made a cylinder for the general shape of the belly and the back, deleting the top, bottom and the one side and moving the verts. I used a basic cylinder for the bottom part of the legs as well, but not connecting them since I still needed to make the shoulders. I used quad draw to draw out on the image plain where I wanted the quads to go, and moved them out and formed into place. I used mostly quad draw and moving the verts into place. I used a picture of a deers edge flow from David, to map out the general edge flow of the deer, excluding the head.
 (picture from David)
I used the picture mostly for the shoulders and butt. The legs I made more detailed and not so round. The tail I made more puffy and made more or less the same kind of ears as the picture. I used other pictures and videos how to make human shoulders and body. I made a quick make shift head shape and smoothed it two times, so I could make it live and quad draw right on top of that, instead of moving the vert out, it would be too much work. I used a curve to extrude the horns out and extruded out the extra horns parts. The hands I made from a cylinder and some boxes for the fingers, adding details with more edges and quad solving the hand palms.
When I was done with mostly all the parts I started combining them and merging them together, adding or removing edges if needed. When everything was attached I started working on mirroring it.
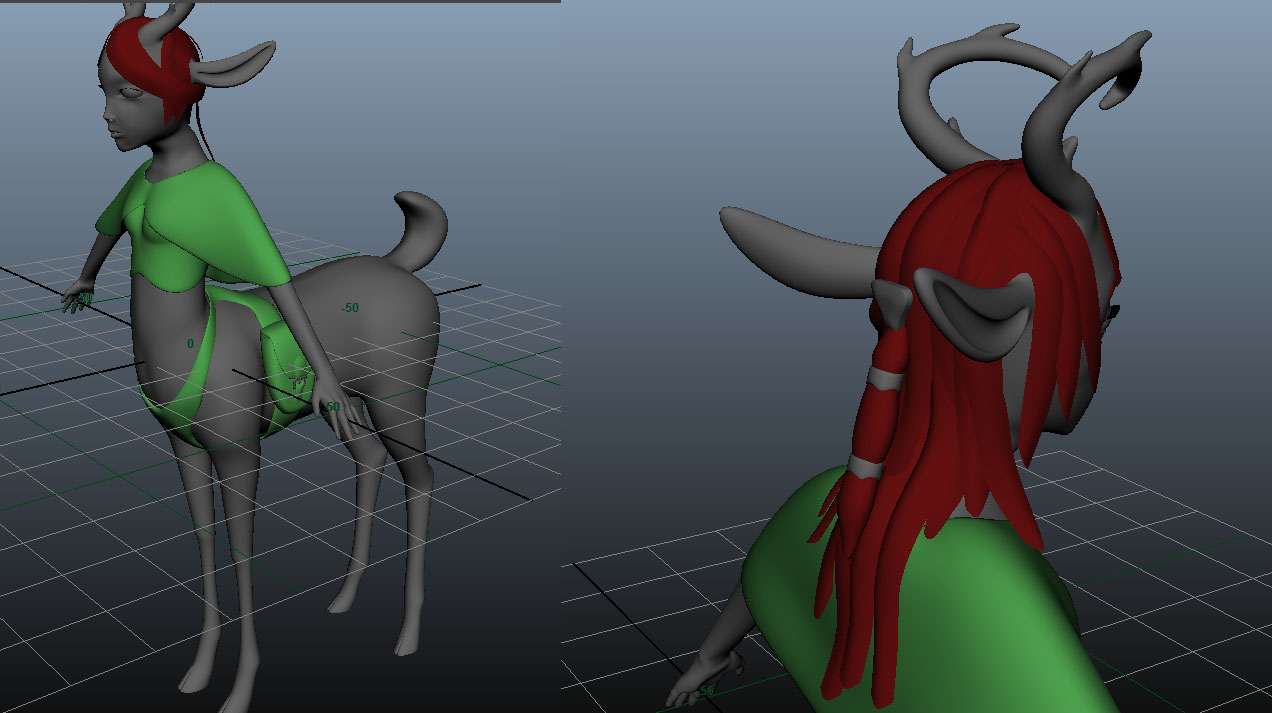
The eyes are spheres with extra edges on one side to make the pupil go inward and an extra sphere on each eye to make the glossy effect. The hair I made by making the head live and drawing plains on the head to make the hair.
The clothing and belt was easy, I duplicated the body mesh and made the clothing after that and removing faces I didn’t need. Re-sizing them a little so they would go on top of the body mesh and extruding an edge inward toward the mesh. The bags I made with quad draw making one side and duplicating it, forming the sides and the turnaround and merging them together to make the basic bag. Doing the same for the top of the bag, merging it with the rest and folding it over the bag. Using quad draw to make the strap that would hold it closed and making a buckle to make it more believable. The poncho was a little tricky, but I made the body live and quad drew on the front to make it fold on the breasts, I also added some quads on the back and shoulders down the arm so I could extrude to the front and back to make the basic shape. Adding more loops to form it more naturally. Extruding inward to make the inside of the poncho. The small details like the hairpin and bands on the back head I used quad draw to make the pin and used mostly cylinders and forming them to the hairbands. The little gem on the front I used a cube, formed, and extruded the rectangular shape outward.
Later I unwrapped the whole model, planar mapping it and cutting where I wanted the borders. All the clothing on one UV map, body on one and the hair on one. On the hair, there was more than one with the same kind of UVs so I placed them on top of each other to make it easier. (Hair, clothing and body UVs)


Since I wanted a cartoony look on it I thought to have some details but not to detailed, I still wanted it to be simplistic. First, I drew the body with a more detailed spotted pattern, it was how I drew it in the colour patters, but I saw it didn’t work out so well. It stole all the attention from the rest, so I reworked it to a more simple design with a little darker colour and another more transparent colour as a transition from the whitish colour to the brown. I used that design on the rest of the body. For it not to look to simple I added some colour variation in the base colours of everything. I added some additional texture to the clothing, some leather texture and linen texture just to overlay what I had to make it look more like leather and cloth.
I added a king of “family” symbol or something like that on the bags and her hairpin. I also added two little swirls on the front of the belt, since it was just a blue stripe there and looked a little too boring.
When I was almost done with the textures I started working on the alpha maps for the hair and eyelashes, painting white on the parts I want to see and black where I don’t want to see anything. I also took the poncho into Mudbox, sculpted a high-res model, and used it to make a normal map in Maya. Removing the bits I didn’t want on the map with the basic colour on the normal map.


(legacy viewport render messing up the hair texture on picture3)
The lighting I went for was a studio set up, with one key light, several fill lights and rim lights. All of the lights have a more yellowish or orange colour so it would look more natural, and one green light to shine some green on the legs and up. I have one key light without decay to light up the scene, and several fill lights to fill out the shadows on the character. The rim lights are to lighten up the back and add a glow behind the character.
Challenges
I had some challenges where Maya crashed. In the start I made the body, forgot to save and Maya crashed. But I think it went really well after that, I made the body twice as fast and it looked much better, so I think it was good that Maya crashed on me. Some other smaller times where Maya crashed right after I saved, but it didn’t do anything since I already saved.
The connection between the tail and the butt and back of the deer was really challenging, I had forgotten to add one more edge, so when I realised that it went smooth. It was hard to draw on the connection on the feet and belly, since it was there I put the seams, so I used some extra time to fix it.
Self-evaluation
In the end I think the product turned out great, I am really pleased with the result. I especially like how the horns turned out in the end. I had so many ideas for the horns, but I am glad I choose the ones I did. They are simple, jet beautiful the way they curl.
Render time:
-Full body, Smooth clay with lowpoly wire (3/4): 3min
-Close-up of the face Smooth clay with lowpoly wire (3/4): 5min
-Smooth with texture (Front): 3min
-Smooth with texture (Side): 4min
-Smooth with texture (3/4): 3min
-Checker (3/4): 3min
Final product